BY MENAT EL ABD, REGIONAL BROW ARTIST, BENEFIT COSMETICS.
We all know there are many ways to contour the face and the eyes, but now you can even contour your brows. Benefit Cosmetics has launched a 4-in-1 product that fits every shade of eyebrows. With only one product you can create many different looks, so there’s no need for four different brow products in your make-up bag, one pencil will do it all.
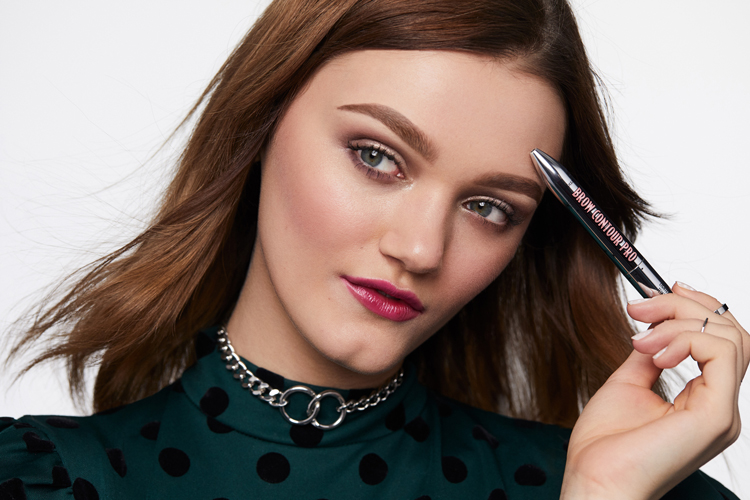
This definitely sound like a brow dream come true. The Brow Contour Pro Pencil allows you to go from soft and blended natural looking brows all the way to a dramatically defined look, allowing you to contour like a pro. With the Brow Contour Pro Pencil, you can create three different levels of a ‘Contoured Brow’, giving the brows depth and dimension.
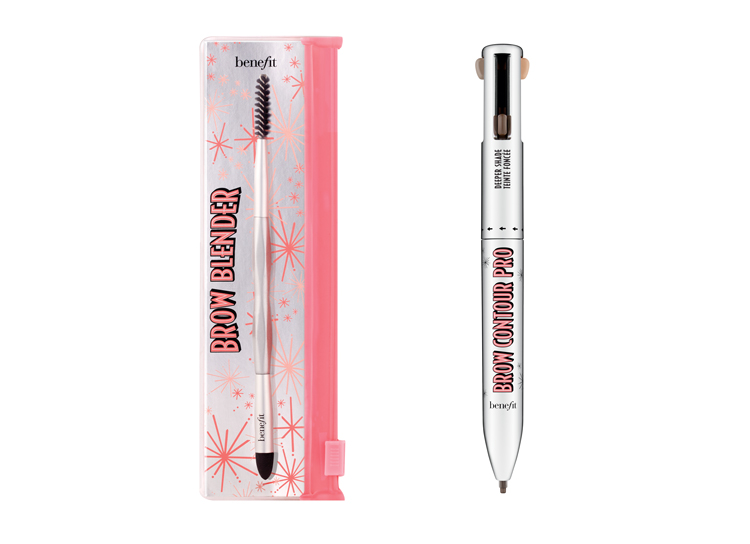
With a slight definition in your brows, you will see a change in your whole look. So grab your Brow Contour Pro Pencil and start defining and highlighting. With this multi-tasking brow pencil it has never been easier. In this one product you will receive a lighter brow shade, a deeper brow shade, an edge definer and an arch highlighter. These four tools will help to create a clean, shaped brow that is contoured.
Before you start contouring the brows, never forget to start fresh and clean. A contoured brow look will look even better when pay a visit to Benefit’s Brow Bar to get fresh waxed brows. This will definitely help you when it comes to filling and defining the brows. At the Benefit Brow Bar, your brows will be pampered and loved. You can even try brow mapping, tinting, waxing, shaping and more.
Step By Step Guid
Firstly brush your hairs with Brow Blender’s spoolie brush. This will help when it comes to filling in the gaps and give you that amazing effect.
After brushing, grab your Brow Contour Pro Pencil. Press down the lighter shade tab and twist until you see product. Once you see the product, start filling in the brow with lighter shade from the start to the arch of the brow by applying soft hair strokes. This technique will give an illusion of fake hairs and fuller brows.
Once you’re done with that, it’s time to switch shades! Just press down the deeper shade tab and twist for the product. It’s that simple, now it’s time for some contouring.
Fill in the brow from arch to end with the deeper brow shade. This step will give more definition and depth for the brows. You will definitely start to see the change in colors and the contour.
We’re officially done with filling in the gaps, now we want to show off the brow shape by defining it from start to end. Press down the defining tab and start defining those contoured brows. Stroke the definer below the brow from start to end and above the brow from arch to end. After applying, blend gently with your finger for a clean finish. This way, you will bring that shape to life.
Once you’re done with that, it’s time to highlight and lift. Press down the highlighter tab and apply it beneath your arch and blend outwards.
Last but not least, grab your Brow Blender and with the spoolie brush, blend the brows. This will smoothen them out.
Always remember, that make-up is always fun and it’s nice to play around with products. With Benefit’s Brow Contour Pro, you can discover various looks by trying it in different ways. This multitasking pencil will give your brows amazing definition. And of course, one of my tips is to never forget to blend the brows after you’re done. Benefit’s dual-ended Brow Blender, is the perfect tool for ultra-clean edges and tamed brows.
The Brow Contour Pro Pencil comes in five shades for a wide range of hair colours and skin tones.